
TERRARIUM DIY KIT INSTRUCTION

List of Materials
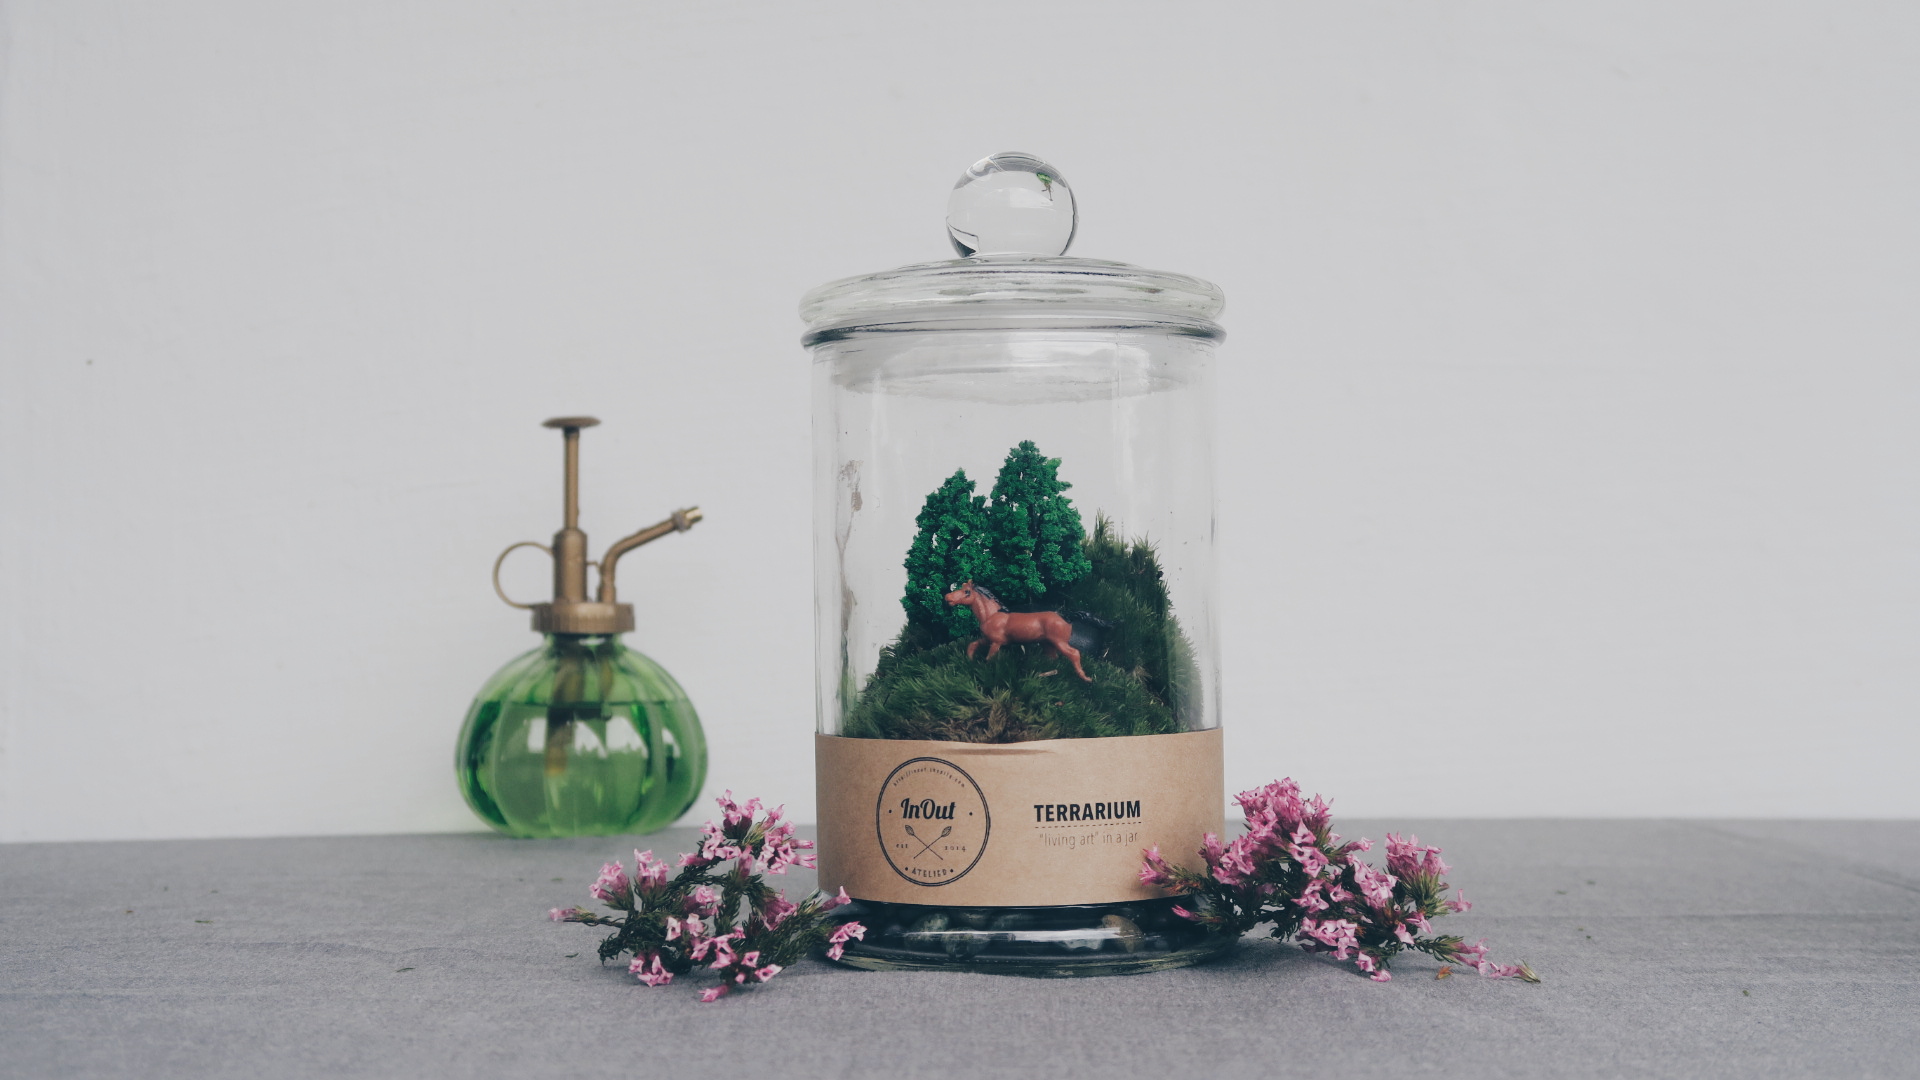
1 Clear Glass Jar
1 Packet of Stones (Base layer)
1 Packet of Sphagnum Mosses
1 Packet of Pin Cushion Mosses
1 Packet of Decorative Pebbles/Figurines
1 Tweezer (Not included)


Step 1
Wash the glass jar thoroughly to remove any unwanted residue and dry it afterwards.
Add in the base layer stones. This creates a drainage layer for excess water to settle in to prevent the moss from flooding.
*Keep in mind the “Rule of Third”, where the potting mix (stones, charcoal and sphagnum moss) should be approximately one-third the height of the container.
Step 2
Compress the sphagnum moss with your hands, making sure that they are compact. Sphagnum moss replaces the commonly used soil as the potting mix for your terrarium as they are more manageable for beginners while retaining more moisture.

Step 3
Use your hands or a brush to sweep away any unwanted matter on the surface of your moss. Trim the base of your moss (brown area) to desired thickness with a scissors, whilst maintaining a sufficient volume at the same time as trimming them too much would cause the moss to become loose and break apart.
Use your tweezer to place your pincushion moss into your container. Divide your moss into smaller portions if you have trouble fitting it into the mouth of the jar. Do note to not overlay the pincushion moss on top of one another and to always have the green portion of the moss at the top most layer.
Fill up any gaps present along the sides of your terrarium to ensure that it is compact.
Step 4
Once you are satisfied with the arrangement of your moss, you may add in pebbles or figurines to further complement your desired theme of your terrarium.
Clean the sides of the glass jar to remove any dirt or residue left to ensure that you have a clear view of your very own miniature landscape.